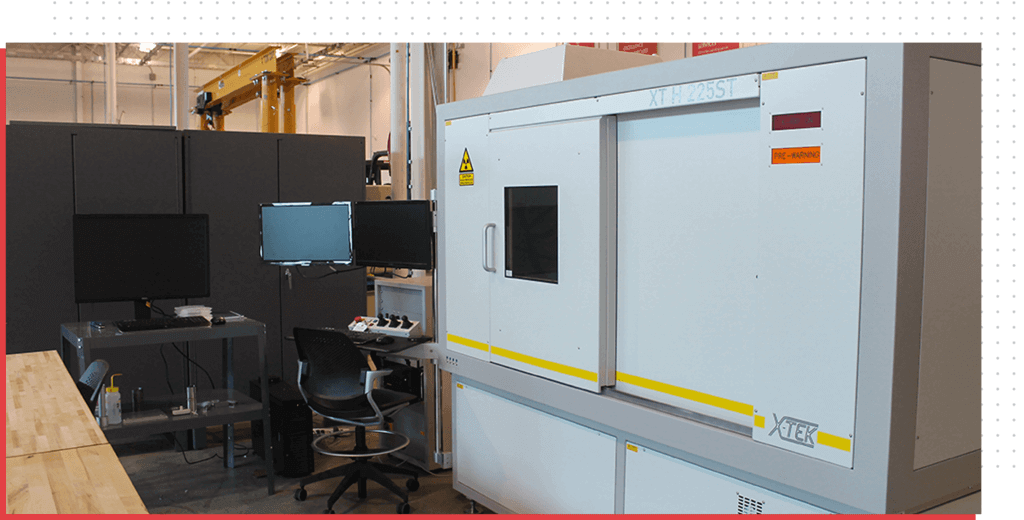
Computed Tomography
EWI’s Computed Tomography (CT) capabilities complement our expertise in Ultrasonic and Eddy Current Nondestructive Evaluation (NDE).

Industrial CT is based on the same principles as medical CAT (computerized axial tomography) scans. In these techniques, radiographic x-ray images are taken in sequence at different angles. These images are then used to build a three-dimensional virtual representation of the structure, providing volume data as well as internal and external surface data. For industrial applications, this technology represents a powerful tool for validating the form of a part and for detecting discontinuities such as porosity, voids, and cracks.
The medical and industrial communities both use these three-dimensional reconstructions for failure forensics. While medical providers use CAT scans to diagnose the causes of headaches, joint pain, or intestinal issues, industrial?users employ CT to understand why a filter leaks, why an electronics package is malfunctioning, or why a brazed assembly has failed. EWI’s CT failure forensics offering serves as an industrial hospital of sorts, combining world class CT imaging with a team of experts capable of diagnosing and solving the problem.
Capabilities
EWI’s advanced CT systems include the Nikon XTH225 and Nikon XTH450. These can accommodate a range of X-ray sources that provide the highest resolution scan possible and can be matched to particular applications.
Capabilities | 180 keV Source | 225 keV Source | 450 keV Source |
| Example | Plastic Filter | Aluminum Casting | Turbine Blade |
| X-Ray Penetration | 1/8 in. steel | 1 in. steel | 2 in. steel |
| Largest Part | Ø=350 mm h=750 mm | Ø=350 mm h=750 mm | Ø=600 mm h=600 mm |
| Smallest Recognizable Feature | ~1 μm | ~10 μm | ~100 μm |
| Metrology Accuracy | 4+L/42 μm | 4+L/42 μm | 8+L/42 μm |
This table illustrates the relationship between penetration depth and the smallest recognizable feature. The X-ray penetration row provides a rule of thumb for how much steel can be penetrated
In addition, EWI employs a range of quantitative analyses including generating solid models to facilitate design improvements, comparing nominal dimensions to actual dimensions, or performing porosity analysis.
*Metrology accuracy is the dimensional measurement accuracy where L is the distance being measured in microns.
A Comprehensive Evaluation Service

In addition to world-class imaging equipment and resources, EWI offers diagnostic expertise with an engineering team available to identify, investigate, and develop solutions to an identified flaw or failure in your process. While most service bureaus deliver raw results following a CT test, EWI provides clients with a thorough understanding of problem or issue and a range of options for successful implementation.
EWI EVALUATIONS INCLUDE:
- A report of findings
- An explanation of problem source
- Options for technical solutions
- Recommendations for implementation
With the guidance of in-process experts, EWI can help you pursue industrial CT experiments for your needs.
The EWI Advantage
EWI offers an array of technology development services in materials and process selection, feasibility testing, technology development, and process optimization. EWI empowers industry leaders to overcome complex manufacturing challenges and integrate new processes to bring products to market more quickly and efficiently. We provide comprehensive engineering services to offer companies customized solutions that deliver game-changing results.
Want to learn more about our computed tomography capabilities?
Contact us to see how we can help